Top 10 Label Printing Problems and Solutions
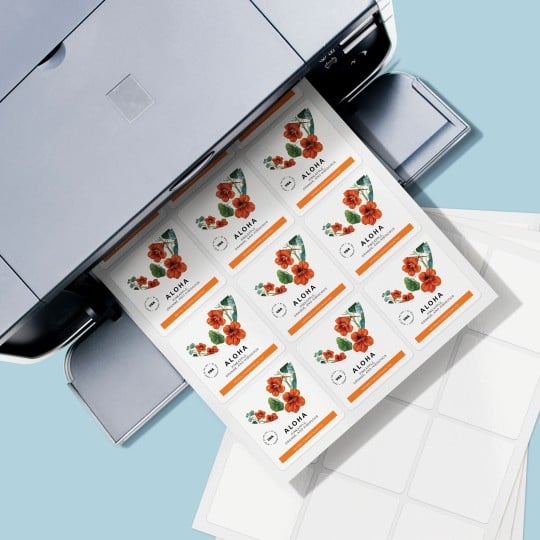
If you've ordered professionally printed personalised labels and stickers you may have encountered some of the problems associated with designing and printing labels. The purpose of this article is to address 10 of the most common label printing problems and how to avoid them.
At Avery, we eat, sleep and breathe label printing. We print thousands of labels every day, so we now know a thing or two about what can go wrong when printing labels, and more importantly, how to make them right.
Here are the 10 most common label printing problems and solutions we will cover in this article:
- The text is not legible (solution: use font size 8 to 12 points)
- The design looks blurry (solution: use images with a resolution of 300 dpi)
- The labels are not printed edge to edge (solution: include bleed in your design)
- The text is cut (solution: keep the text within the safety line)
- The labels have a white outline (solution: use clear labels when using dark designs)
- The design is not centred on the labels (solution: adjust printing options)
- The labels are not the right size (solution: use our size guide to get it right)
- The labels should be clear but they are white (solution: use a transparent background)
- The colours are not what I expected (solution: provide your files in CMYK)
- The labels do not resist water (solution: choose a waterproof material)
1: The Text Is Not Legible
Your design looked fantastic on screen but once printed you can't read the text because it isn't printed correctly.
The reason: your text was too small and you did not realise it, probably because your labels usually appear bigger on screen than they will be in reality.
The solution: use a font size between 8 and 12 points (that’s what books and magazines use for comfortable reading). If you have to go smaller (for a list of ingredients for instance), we recommend a minimum font size of 6 points. Sometimes certain fonts are harder to read than others. If you create your label design with Avery Design & Print, we have tested all our free fonts and set minimum sizes for legibility.
Here are 4 tips to consider when adding text to your labels:
Set the zoom at 100% in your software before checking your text
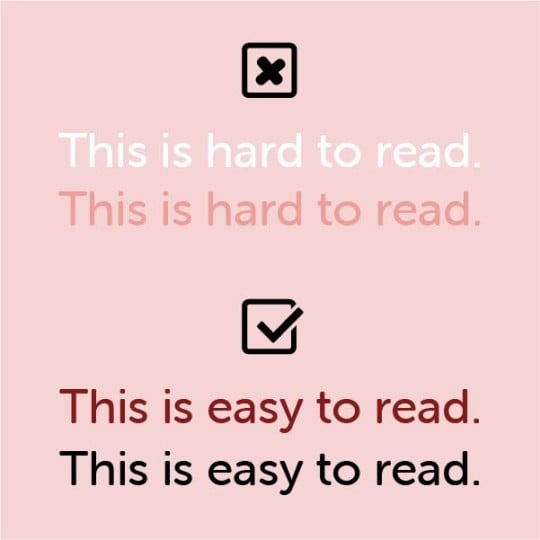
Have enough contrast between your text and background colours
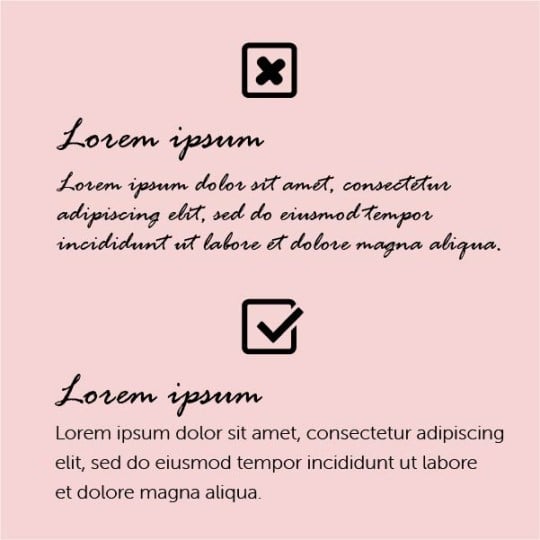
Use them for short texts but prefer serif or sans serif fonts for long texts.
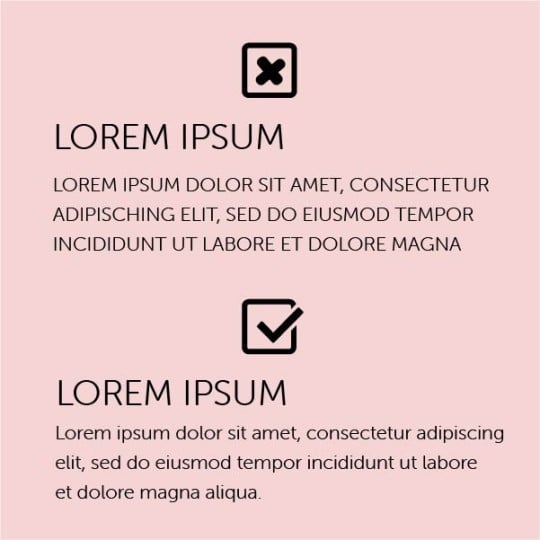
Use them sparingly on your design and prefer lowercase for long texts.

2: The Design is Blurry
Your image looked fine on screen but appeared blurry or pixelated once printed on the labels.
The reason: the resolution of your design was not sufficient for printing. On a screen, a resolution of 72 PPI is enough, but printing requires a resolution of 300 dpi.
The solution: make sure your images have a resolution of 300 dpi (on a Windows PC, you can check that by right-clicking the image and selecting “properties” then “details”). A good test is to set the zoom at 200% in the design software and check if your design looks good.
When you design your labels, make sure to use the right size (if you design for a 40 mm round label and order 80 mm round labels, the resolution may not be enough).
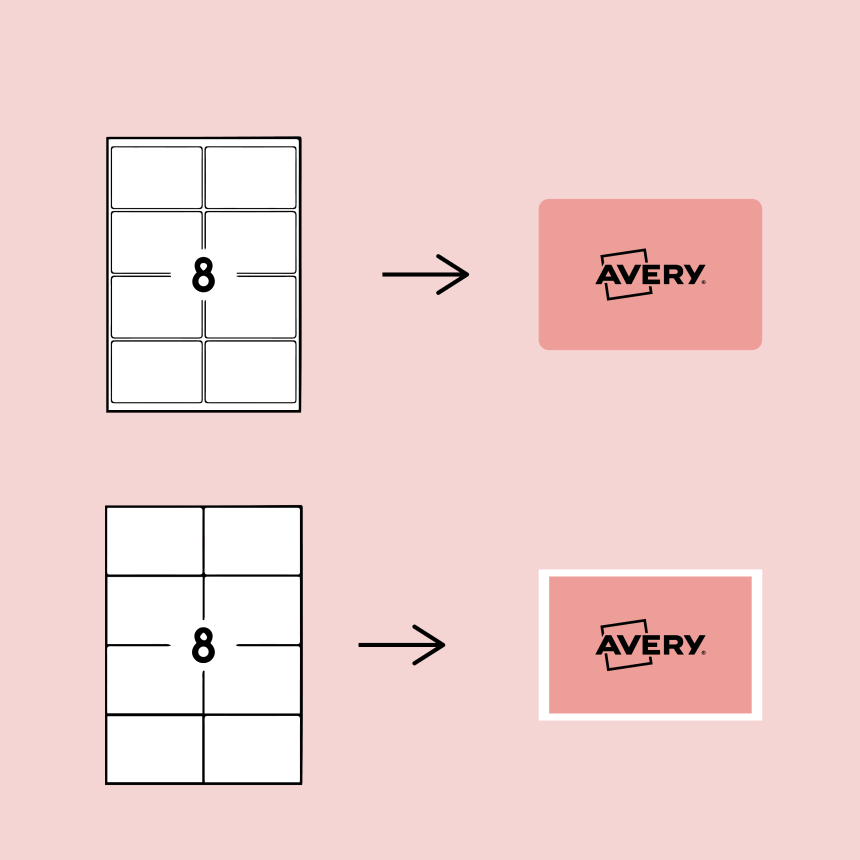
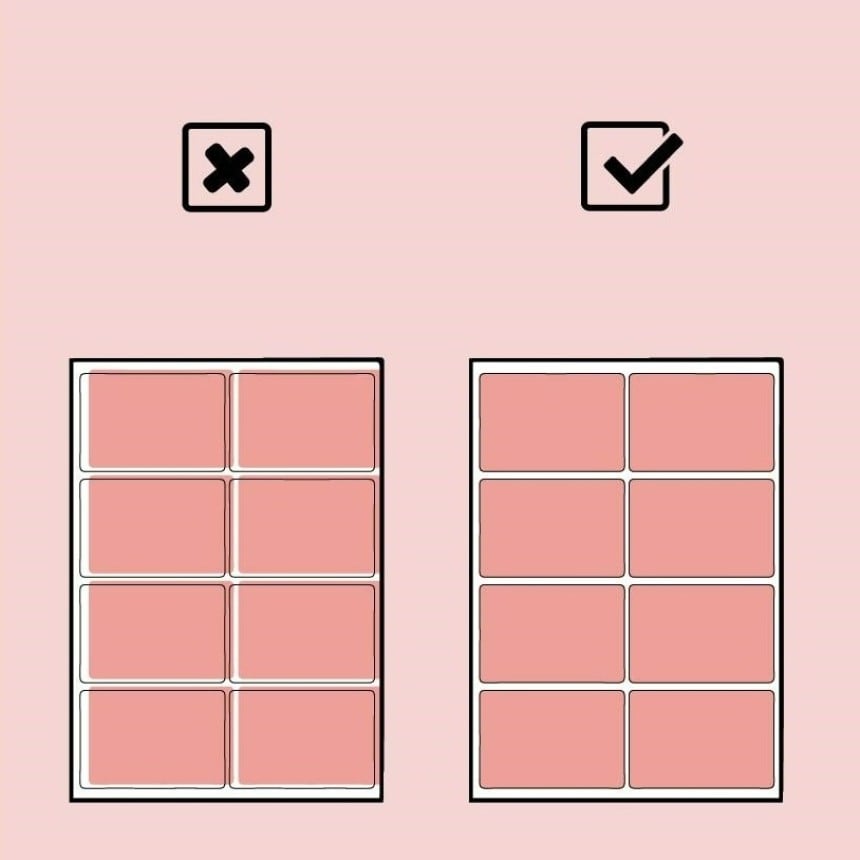
3: The Labels are Not Printed Edge to Edge
Your design included a background colour, illustration or picture near the edge but once printed there's a white margin on the edge rather than your background.
The reason: whether you print labels yourself or use a print service, there is always a risk for micro-movements of both paper and plastic labels. This will cause some gaps between the design and the trim. Most of the time, they are invisible to the eye, but sometimes you can see them.
The solution: to avoid these gaps, you need to include enough bleed in your design. In short, you need to extend your background colour, illustration or picture beyond the trim line. If bleed printing is a new concept for you, we recommend that you have a look at our article about what bleed is and why it matters when printing with blank labels.
If you are using our print service, all our labels are compatible with edge-to-edge printing. We require a bleed of 1.6mm around your design. If you are unsure about bleed or how to achieve edge to edge printing, please contact us: [email protected]
If you are printing blank labels, you need to choose a template compatible with edge-to-edge printing, where there is blank space between the labels on the sheet. Add as much bleed as you can as your printer is less precise than our professional digital press.
4: The Text is Cut Off
Your text was getting close to the edge of your labels, and unfortunately, it got cut…
The reason: as we explained for problem #3, there is always a risk for micro-movements of both paper and plastic labels when printing and trimming labels, even with professional print services. Sometimes, this can cut parts of your design that are close to edge off.
The solution: make sure you keep your text 2 mm away from the trim line. In Avery Design & Print, you will see a safety line inside your label, dotted line, and you will get a warning whenever you cross it.
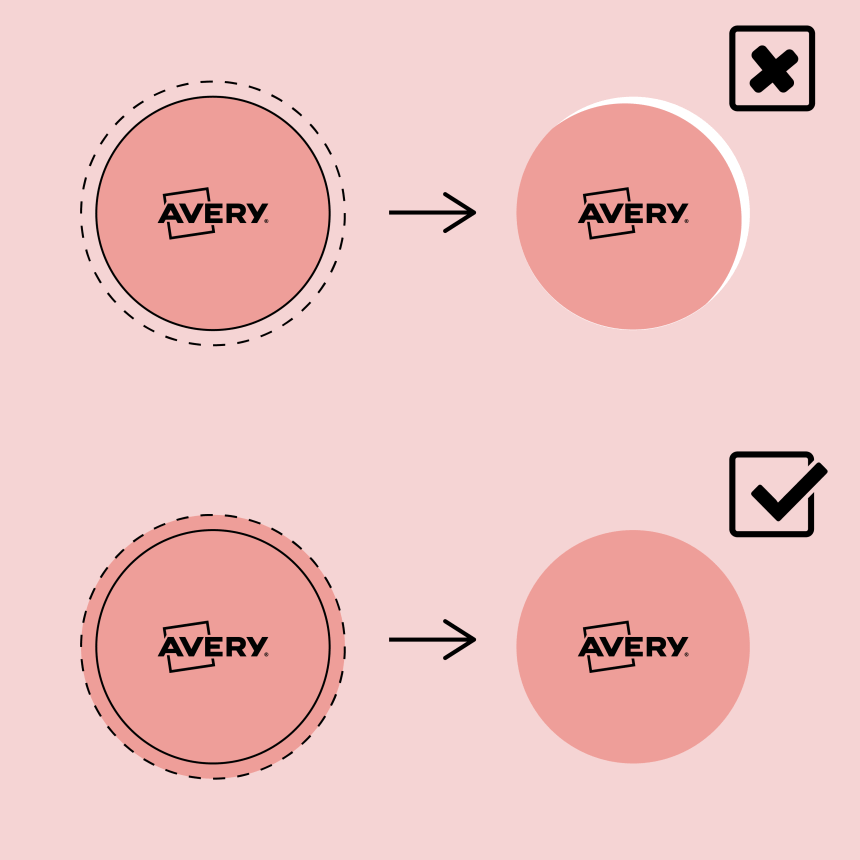
5: The Labels have a White Outline
If you've printed labels with a professional print service that have a nice dark background but unfortunately, there is a white outline all around.
The reason: if you included enough bleed in your design (see problem #3), this can be linked to the production technology. At Avery, we use a laser beam to cut personalised labels. This allows us to propose custom sizes with a minimum price of only £12. However, the laser beam can slightly burn the edge of the paper and ink where it trims the labels. Most of the time, it is almost unnoticeable, but it can be more visible for dark labels, especially when they're stuck on a dark surface.
The solution: unfortunately, we don’t have a perfect solution for this. We recommend choosing clear labels instead. We use a white underprint so your labels will stand out but the issue of a white outline won't exist anymore plus you can match your label to the background colour of the surface.
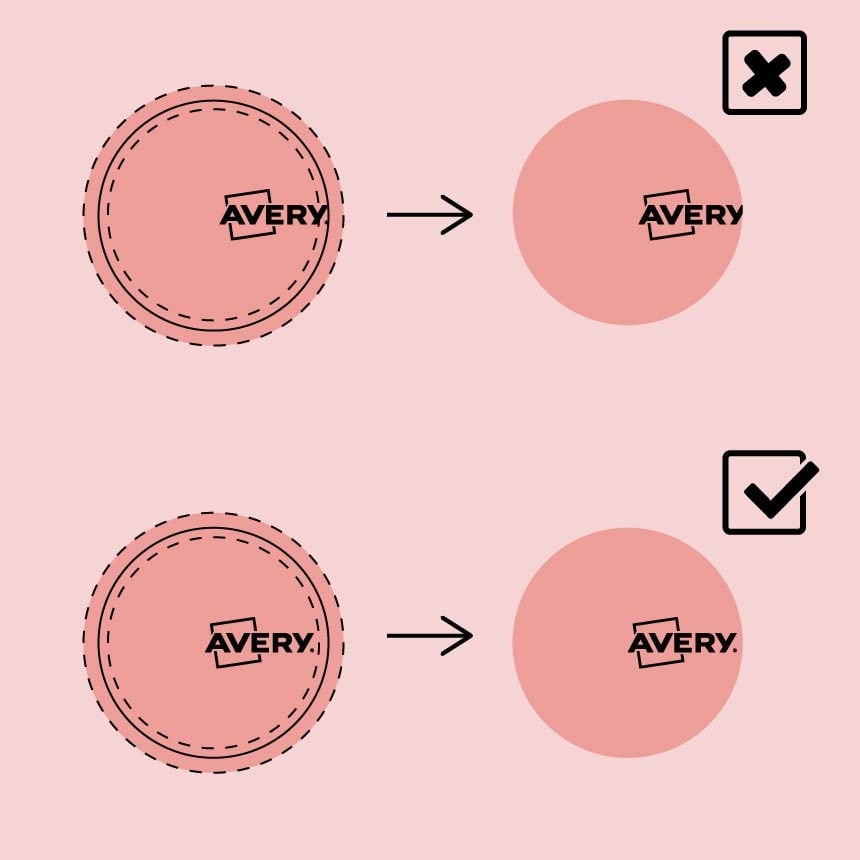
6: The Design is Not Centred on the Label
Your design is slightly or a lot off centre, also known as misaligned, on the label. This is especially obvious with round labels.
The reason: It could be that the design is off centre or it's been placed off centre. But if that's not the case and you used our print service, contact us so we can fix it. If you printed blank labels yourself, either the template did not match the labels, or your printer caused this misalignment.
The solution: first check that you have the right template. You will find the software code on your box of labels or on your product sheet if you ordered blank labels by the sheet.
If the template is correct, make sure your print settings were set for 100% scale printing. We recommend printing from Adobe Acrobat Reader rather than from your browser.
If that was the case, measure the gap and adjust the print file accordingly; in Avery Design & Print you can move the design up, down, left or right until it fits perfectly.
7: Labels are Not the Right Size
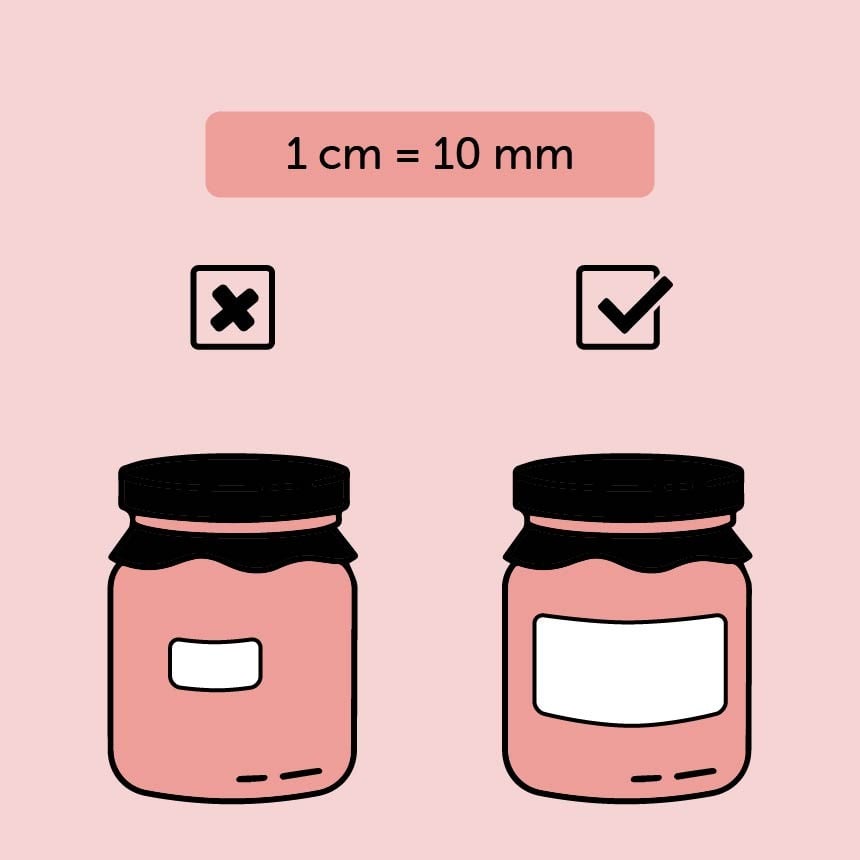
Your labels don't fit your jar, bottle or packaging as you wanted them to.
The reason: if we delivered the wrong size, please contact us. If the size is correct but it doesn't actually fit we have a few tips for you to find the right label size. Firstly, remember that 1cm = 10mm.
The solution: have a look at our size guide. It includes a printable ruler, printable label shapes that you can cut out to find your ideal size and a list of most popular sizes by application for candle labels, honey labels, cosmetic labels, beer labels, etc.
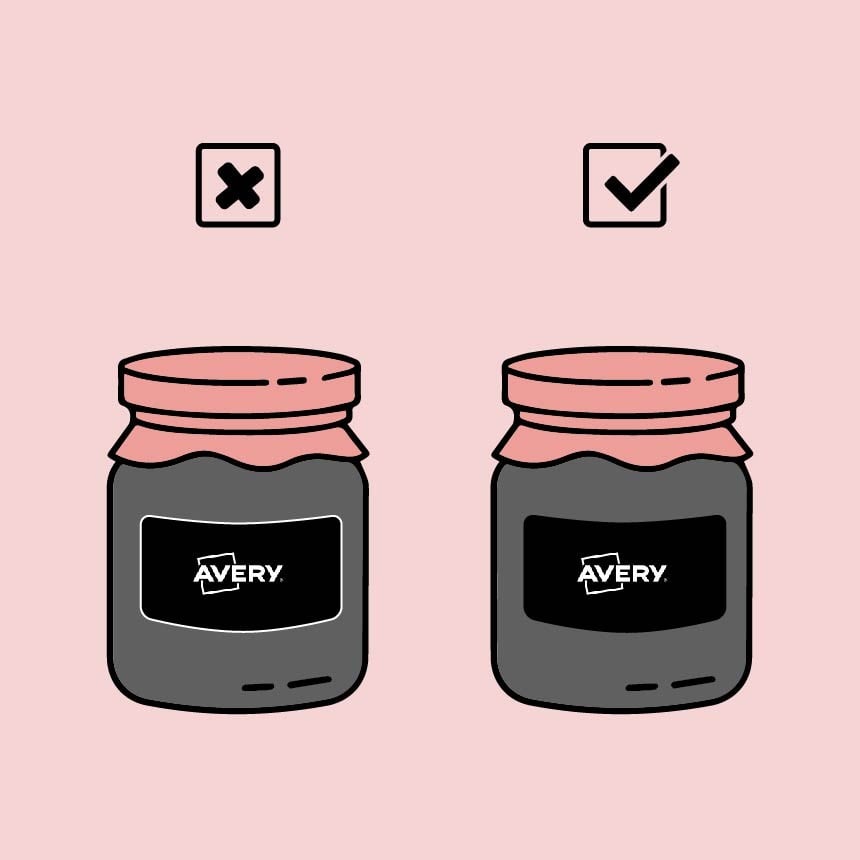
8: The Labels should be Clear but they are White
The scenario is you're sure you ordered clear, kraft, gold or silver labels from our print service and they arrived with a white background that completely defeats the purpose of using that material.
The reason: unlike standard laser and inkjet printers, our professional digital press prints white ink. If your design has a white background our printer will print them.
The solution: make sure you are using a transparent background where you expect to see the natural colour of the material e.g. clear, kraft, gold and silver. File formats such as .PNG, .PSD and .AI manage transparency, whereas the JPEG format doesn’t. If you use Avery Design &Print, you will see a simulation of the material colour which helps you check if there's a background. Also, you can use our easy background remover tool and white remover tool on your designs and images.
9: The Colours are Not what I Expected
The colours on your labels don't match the colours you were seeing on screen.
The reason: colours on your screen are made of light, so they will always appear brighter than what can be printed. The brightness and temperature of your screen can also affect your perception of colours.
The solution: we recommend using CMYK files rather than RGB as they are more reliable for printing. If you are not familiar with CMYK and RGB, we recommend you take a read of our CMYK vs RGB guide.
With our print service, you can place a first minimum order of £12 to check the colours before ordering the number of labels you need. Note that the colour difference can come from an issue with our colour calibration. This is rare but can happen. Don't hesitate to contact us if you need help or have questions.

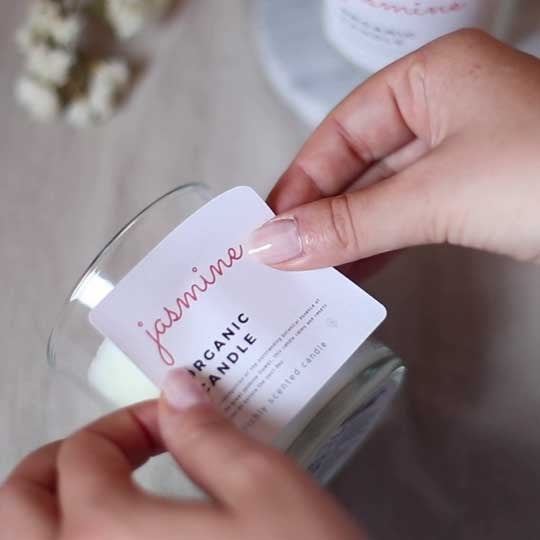
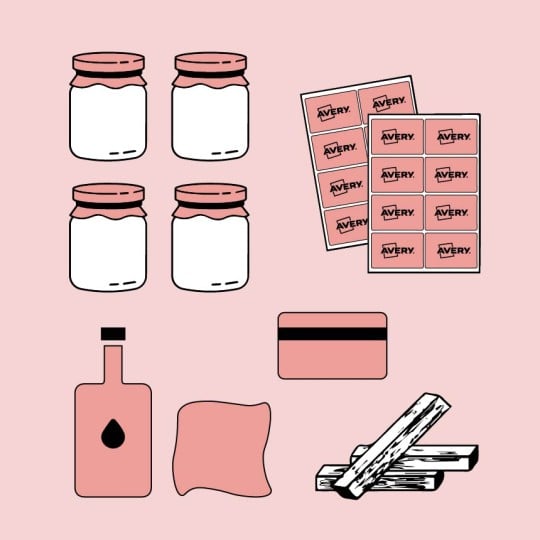
10: Labels aren't Water Resistant
A common issue is applying labels to items such as bottles and then having them go soggy and fall off once wet.
The reason: not all label materials are waterproof, but we have several options that should suit your needs.
The solution: if you are using our print service, we recommend choosing our ultra-resistant waterproof labels which are super strong and can easily last 90 days submerged in water. Sound a bit extreme for your needs? Another great water-resistant option is our plastic labels, which include vinyl stickers, clear and white labels. Add a matt or gloss varnish to these for extra protection against wear and tear on the ink.
If you want to print labels yourself, we have 3 waterproof materials: our heavy duty labels, our clear plastic labels and our waterproof paper labels.
We hoped that this article was helpful. If you encounter a label printing problem, have questions or doubts, don’t hesitate to contact our friendly customer service team on 0800 80 50 20 or via email [email protected]