What is bleed and why does it matter when printing?
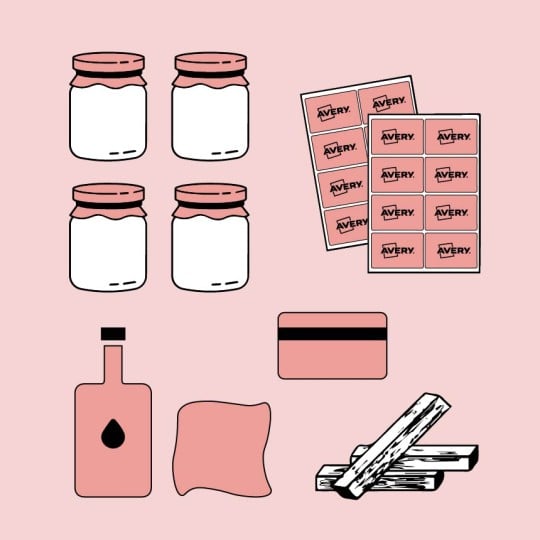
You can see issues with bleeding in printing when for example a customised label or sticker design has a background colour, a graphic or a picture close to the edge of the design but once printed there are blank edges where the design should have been. Any printed item with a coloured background requires bleed. Not sure how to do that or what it means? Don’t panic, we got you covered!
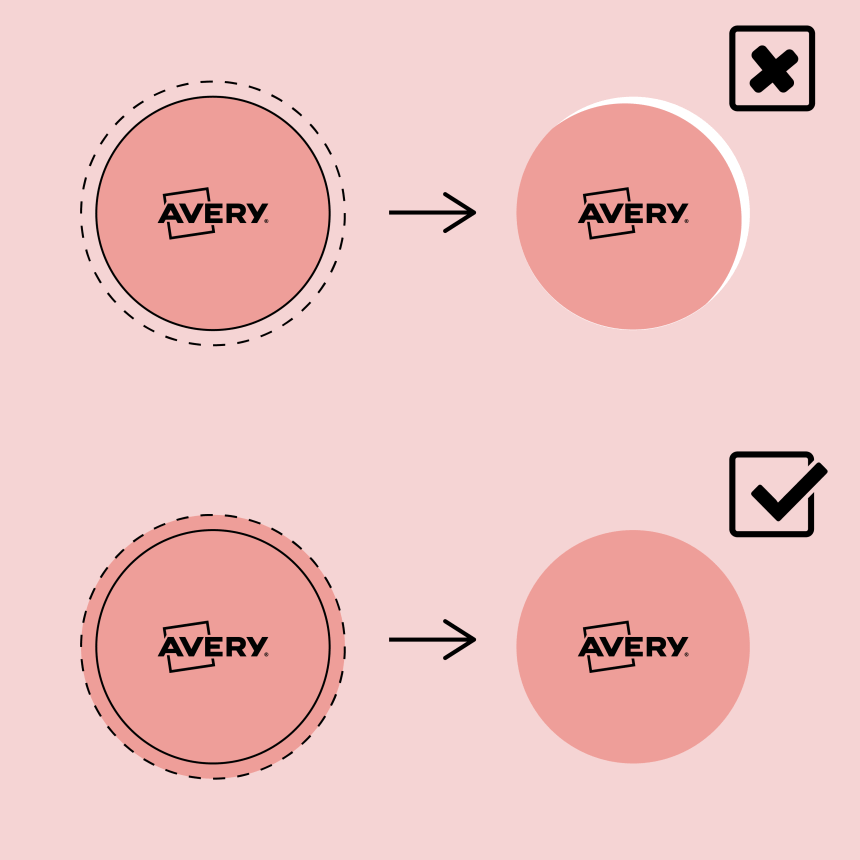
But why? Whether you are printing blank labels yourself or using our print service, micro-movements of the sheets whilst printing and trimming create a very small (but visible) gap between the design and the edge of the labels.
What can you do? Create your design with bleed! This means that any background colour, graphic or picture that you want to be printed to the edge of your label should extend beyond the trim line to ensure the final printed label has no gaps.
Here’s how to do it.
How to print with bleed using Avery print service?
Our machines are very precise so we only need 1.6 mm (0.16 cm) bleed around your design.
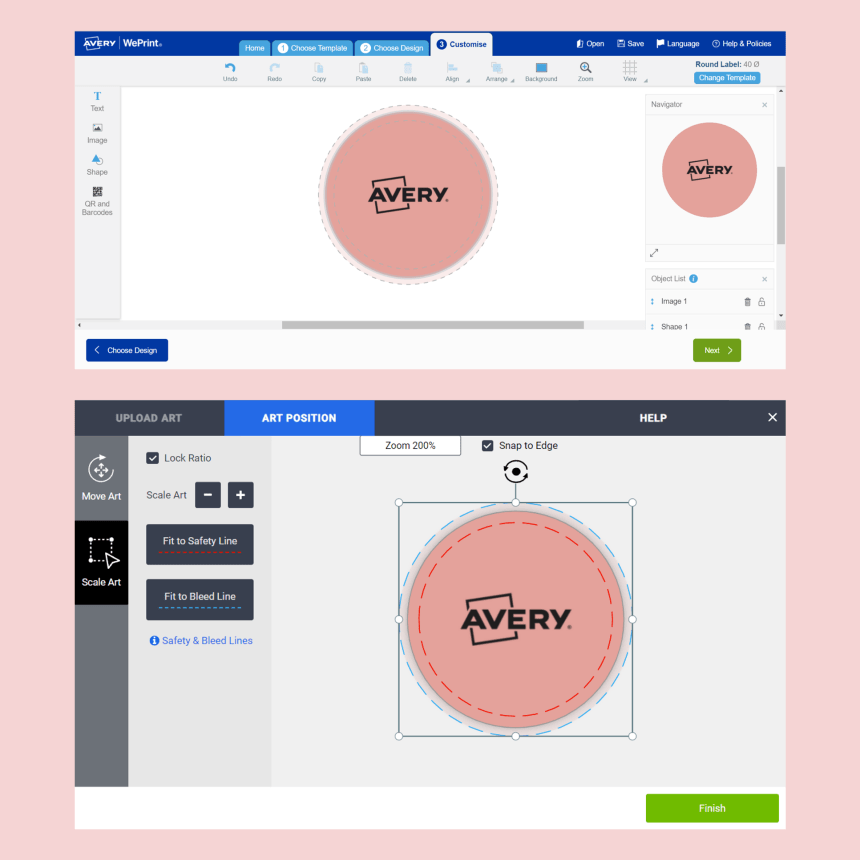
If you design with Avery Design & Print: extend your background, graphic or picture to the bleed line (it is the grey dotted line that appears outside of the label).
If you design with another software: add 1.6 mm of background around your design. For instance, if you chose 80 x 50 mm rectangle labels, your file should measure 83.2 x 53.2 mm. In some software such as Illustrator, you can even configure the bleed when choosing the format. Then, on our website, choose the option ‘Upload your artwork’, and in the menu ‘scale art’, select ‘Fit to bleed line’ (that’s the blue line).
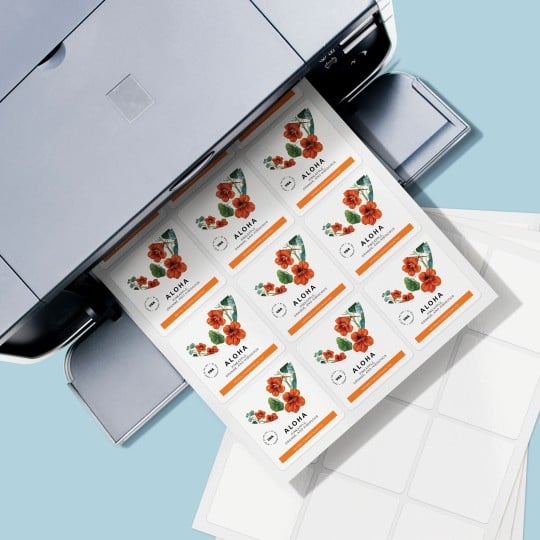
How to print blank labels edge to edge?
1. choose the right labels: if you want to print a background colour, a graphic or a picture to the edge of your labels, you first need to select a template that is compatible with bleed printing.
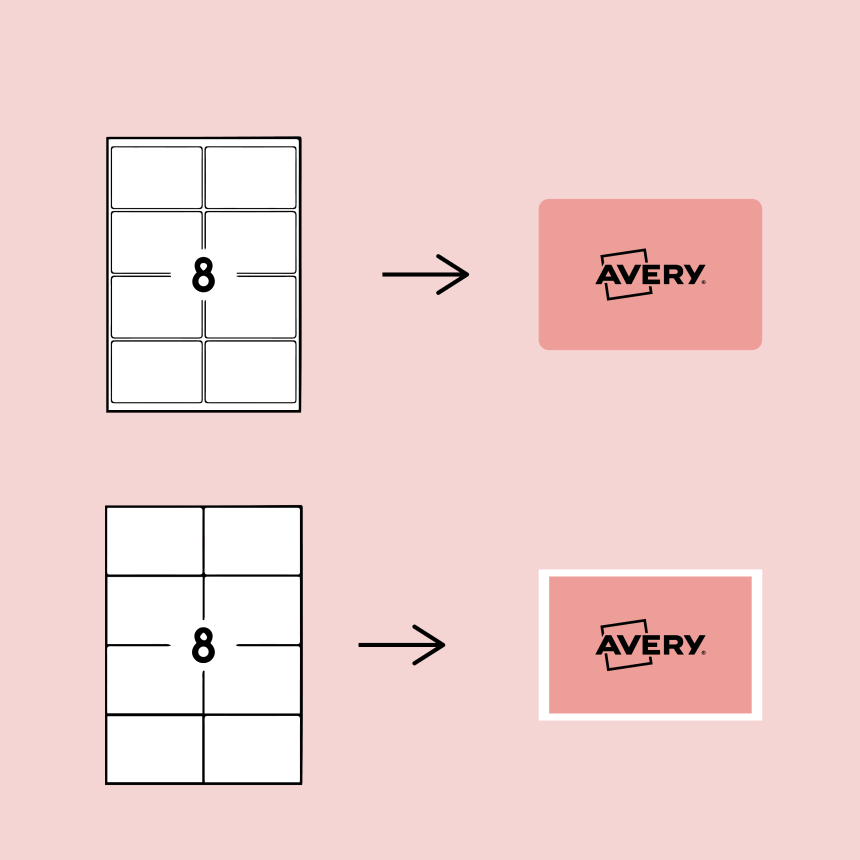
In this example, both sheets have 8 labels. On the first sheet, the labels are separated by blank space: so the template is compatible with bleed printing. On the second sheet, the labels have no space between them: the template is not compatible with bleed printing.
2. Create your design with our software Avery Design & Print: extend your background colour, graphic or picture to the bleed line (that’s the grey dotted line outside the label) and voilà!
Summary: how to ensure edge-to-edge printing for your labels
- Blank margins are caused by micro-movement of paper and plastic during printing and trimming.
-
Add bleed to your design to avoid blank margins.
-
Our software Avery Design & Print indicates the bleed line to help you, look for the dotted line.
-
Our print service only requires 1.6 mm bleed around the label design.
-
If you are printing blank labels yourself, select a template that is compatible with bleed printing. The sheets with spaces between the labels.