Applying Labels: Top 5 Problems and Solutions
Tips and tricks to avoid bubbles, wrinkles and other issues
Applying custom labels or stickers is a skill that requires practice to master. You may encounter a few problems when you first start, so let's try and minimise label waste by eliminating them early on. At Avery, we have been producing labels since 1935, so we're really experts when it comes to labelling. Here are our top tips on how to apply labels, what can go wrong and more importantly, how to get it right.
These are 5 of the most common label application problems we will address in this article, and how to solve them:
- Bubbles (solution: clean your product with isopropyl and a lint-free cloth before applying your label)
- Wrinkles (solution: on rounded surfaces, start the application at the centre, then press toward the edges)
- Fingerprint marks on clear labels (solution: hold the labels by the edges with clean and dry hands)
- Labels too small or too big (solution: use our label sizing guide)
- Labels not resistant to water (solution: switch to waterproof label material).
For more tips, have a look at our simple guide.
1: I applied my labels, and there are bubbles
Let's paint the science: you just carefully applied the label to your products but there are annoying bubbles that won't go away!
The reason: dirt or grease on the surface of the product stops the adhesive from bonding fully.
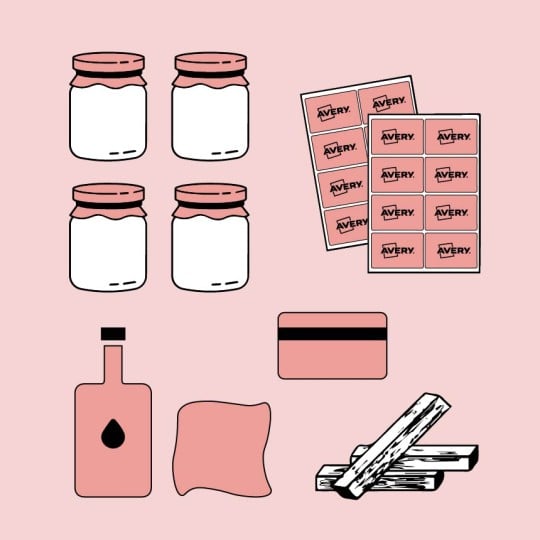
The solution: make sure your products are clean and dry before applying your labels. For jars and bottles, we recommend using isopropyl alcohol and a lint-free cloth that won't leave any residue.
2: I applied my labels, and there are wrinkles
You've carefully applied a label to a container and got an unpleasant surprise: there is already a wrinkle!
The reason: wrinkles usually appear on rounded surfaces like jars and bottles, or when applying large labels. It's due to the label not applying evenly from one area outward, causing the material to catch.
The solution: make sure you stabilise your product so that it does not move. Hold your label firmly by the edges with your 2 hands:
- For jars and bottles: start the application at the centre and roll the label towards the edges, applying pressure with your hand or a plastic card
- For boxes and flat packaging: start the application at the edge and roll the rest of the label
3: There are fingerprints on my clear labels
You opted for clear labels because they're almost invisible, but once applied, your fingerprint, dirt or dust shows through.
The reason: The label adhesive has been touched by fingers or picked up dust or dirt.
The solution:
- Make sure both your products and your hands are clean and dry. For jars and bottles, we recommend using isopropyl alcohol and a lint-free cloth to wipe them down.
- Hold your labels at the edges with as little contact as possible with your fingers. You can also wear gloves that are smooth and don't leave residue or marks.
- If you are using our print service for your clear labels, our gloss finish is slightly more forgiving than our matt finish.
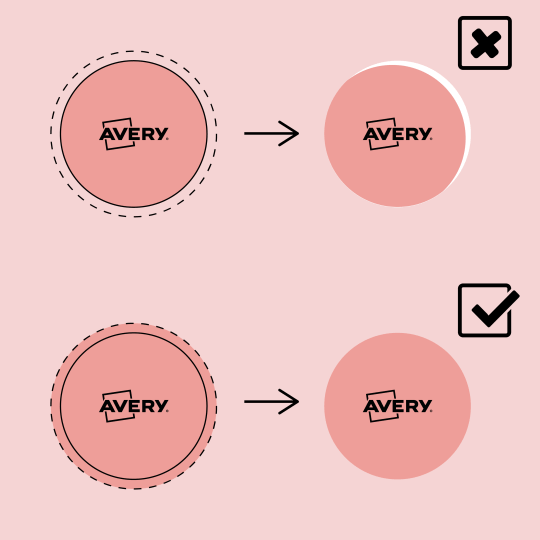
4: My labels are too small or too big
Now that you see your labels on your products, something feels wrong… the proportions are off.
The cause: finding the right label size for your product is not an easy task. You've measured incorrectly.
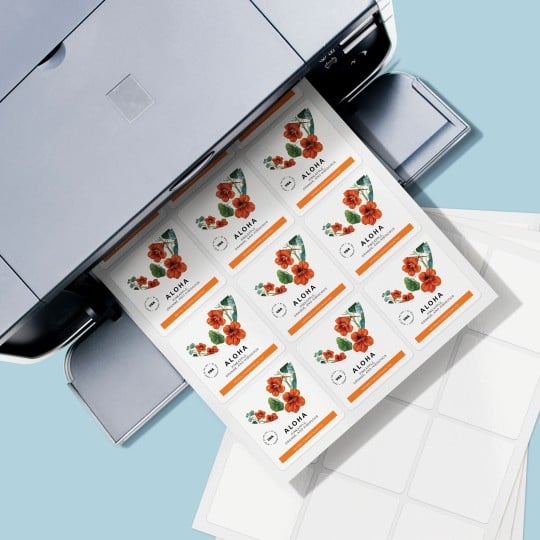
The solution: have a look at our label size guide. You will find a printable ruler to measure jars and bottles easily, printable label shapes you can cut off and place on your product before you buy, and a list of the most popular label sizes for different uses.
5: The labels aren't water-resistant
You've applied your labels to a beer bottle or à shampoo bottle and unfortunately, they got ruined by being near or in water.
The cause: your chosen label material is not water-resistant.
The solution: we have several materials that are water-resistant. Here are some details to help you choose.
- Our waterproof labels are our most water-resistant option; you can use them outdoors, and they've been tested to last for 3 months undersea, which is just incredible. Check out our printed waterproof labels and blank waterproof labels.
- Our plastic labels are waterproof. They are perfect for food and cosmetic products. If you want us to print your labels, have a look at our white plastic printed labels and clear plastic printed labels. If you would rather print labels yourself, see our clear plastic blank labels.
- Our textured paper labels have high wet strength. They were designed for wine bottles but can be used for any product that may get a bit wet, such as food products and beer bottles. Design textured paper printed labels or shop textured blank labels.
- Kraft labels are splashproof. Our kraft material is a beautiful brown colour - it is not as water-resistant as our other materials suggested but it can withstand a few splashes of water. This paper-based product can be found in our print service as kraft paper and as kraft blank paper sheets.