How to Apply Labels
A simple guide to avoid bubbles and wrinkles on your labels
Our golden rule: never apply custom labels or stickers when you are tired, stressed or in a hurry. Believe us, we tried and it was not pretty! Applying labels is an art that requires some practice before you master it. So be patient, follow our 3 simple steps, and we promise it will be alright!
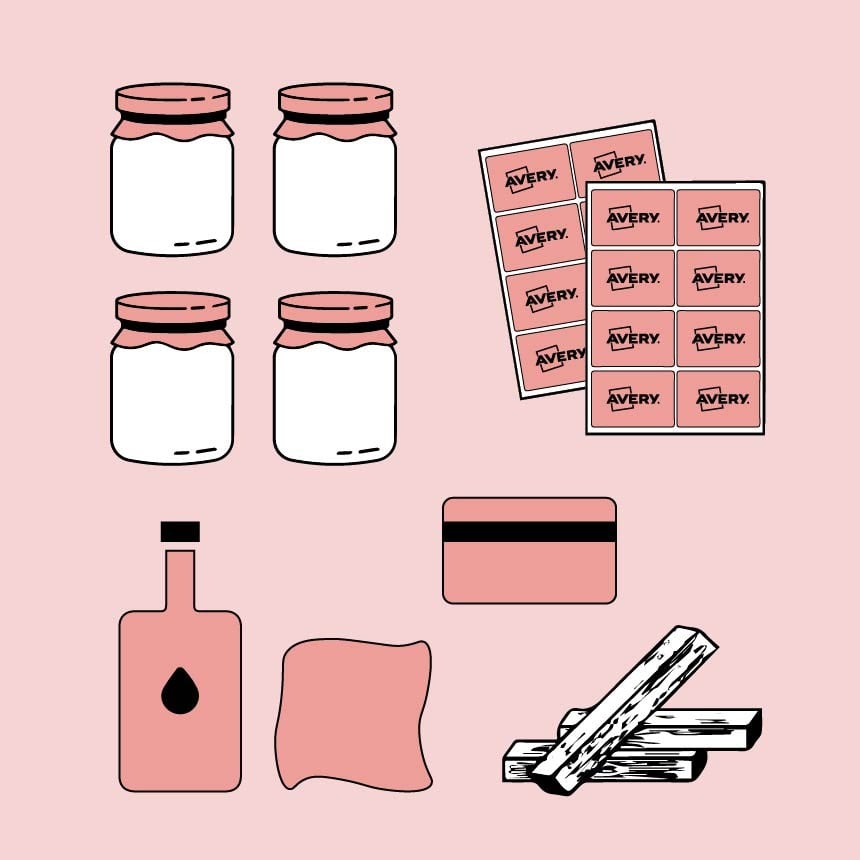
To apply your labels, you will need:
- Your containers
- Your labels
- Isopropyl alcohol for jars and bottles
- A lint-free cloth that does not leave marks or fluff
- A few objects to stabilize your product such as books or blocks of wood
- A plastic card (e.g. a loyalty card or a credit card)
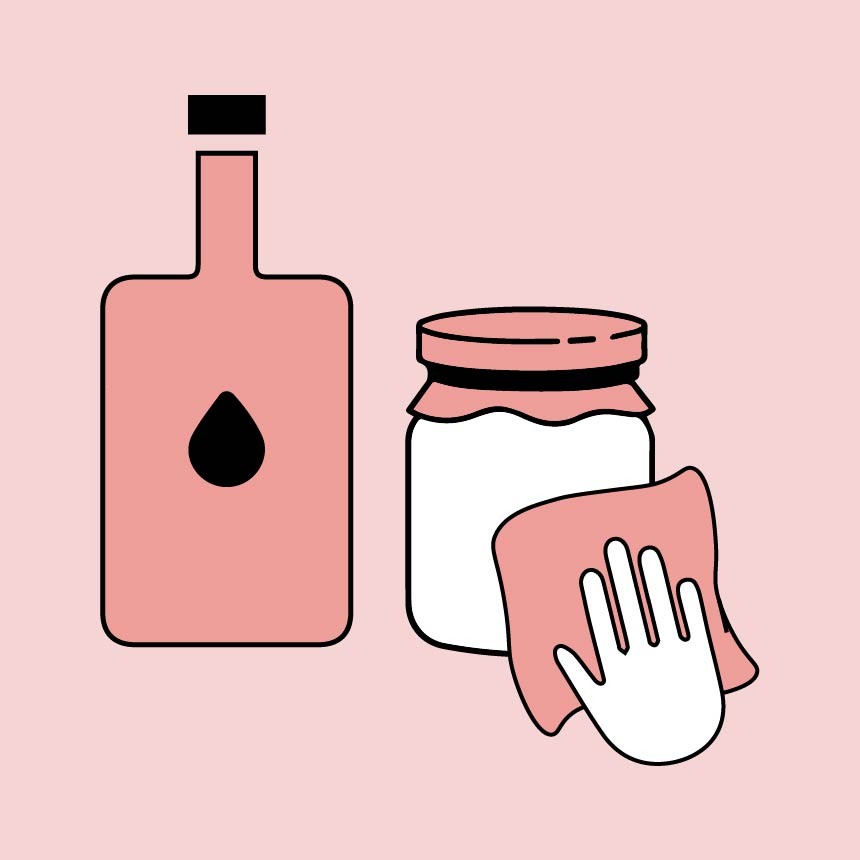
Step 1: Clean your Containers
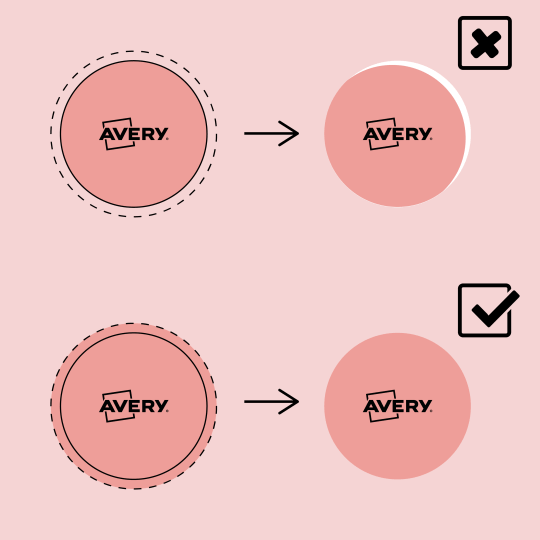
Bubbling is often caused by dirt, grease, oil and moisture that lay on the surface and stop the label adhesive bonding to your products. To avoid this make sure your hands and containers are clean and dry.
If you are labelling glass jars or bottles, we recommend using isopropyl alcohol to wipe down the surface as it is an effective cleaner and evaporates quickly. Make sure to use a lint-free cloth to avoid leaving marks or fibres.
If moisture or grease are unavoidable, we recommend using our ultra-resistant waterproof labels as they have an extremely strong adhesive that sticks to any surface, no matter what.
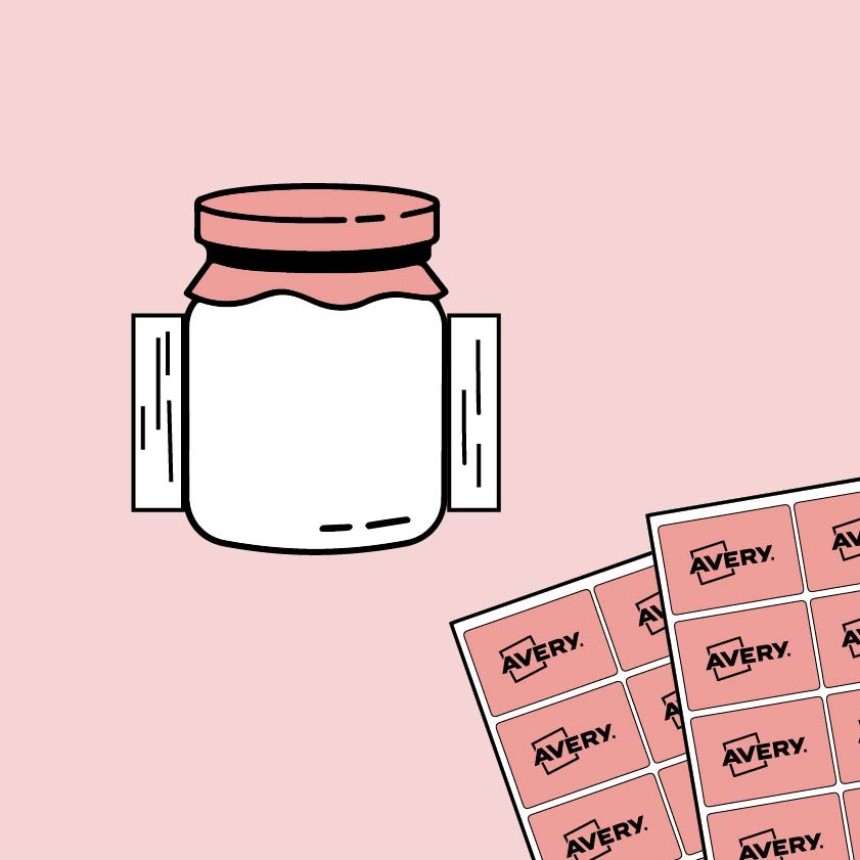
Step 2: Stabilize your Surface
Your surface or container should be still for a more controlled application. This is especially important for jars and bottles, as they are prone to rolling and shifting.
To keep it still, you can use objects such as pieces of wood, books or even your knees, at least, you always have these with you! You can also use your hands as we see a lot of busy small business owners do- however you'll need a lot of practice to get good at it. We strongly recommend using objects so you have both hands free.
Temperature control: Label adhesive is sensitive to heat and cold. If possible, make sure your surfaces and labels are at room temperature before you start. This will ensure better adhesion..
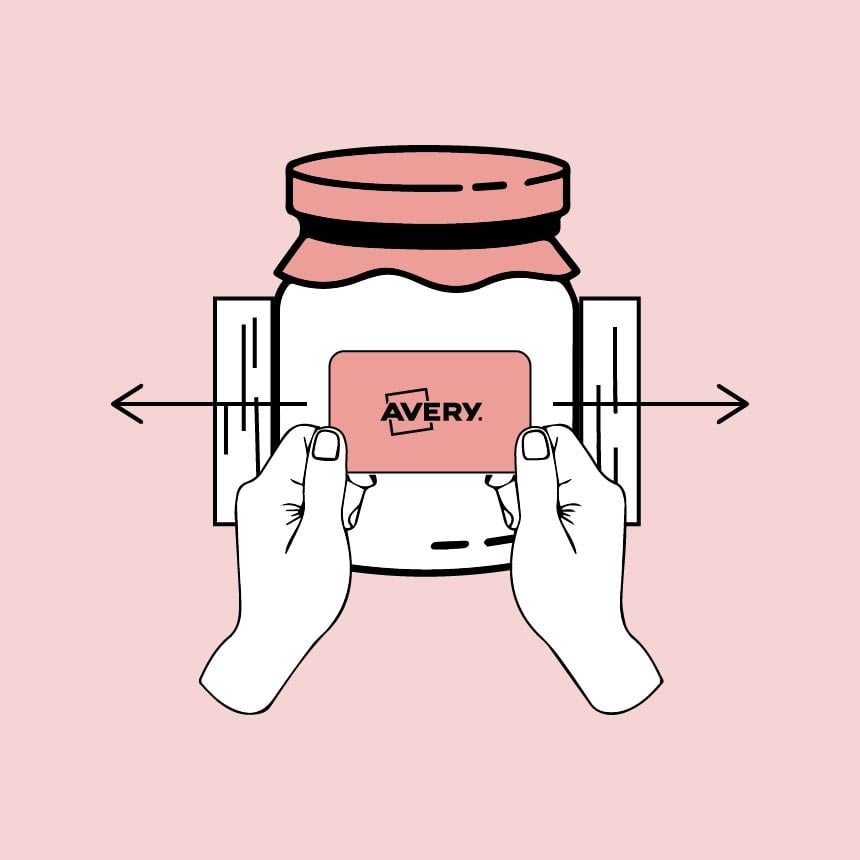
Step 3: Apply the Label to the Surface
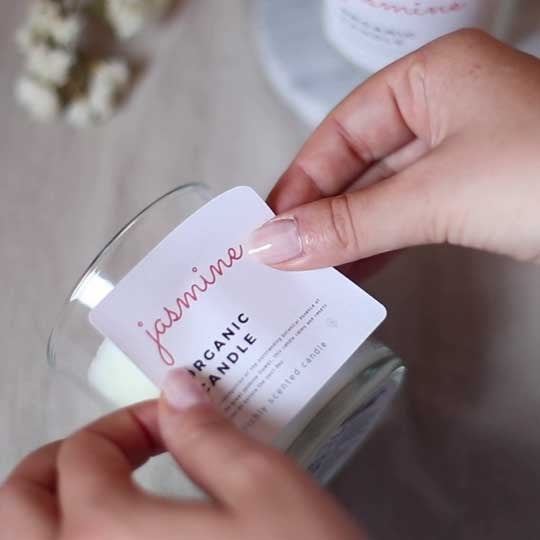
Peel off the label from the backing liner and hold firmly by the outer edges using your 2 hands. Now take a deep breath, this is the difficult part.
For a jar or a bottle, start by applying pressure at the centre of the label, moving outwards to prevent creases.
For boxes and other flat packagings, start applying the label at the edge and then roll the remainder of the label on the surface to avoid wrinkles.
Use the plastic card to remove any bubbles or wrinkles by pushing firmly to the edge.
Repeat the operation with your other products, and voilà: mission accomplished!