Mail Merge: Save Time This Christmas
With Avery Design & Print's import data feature
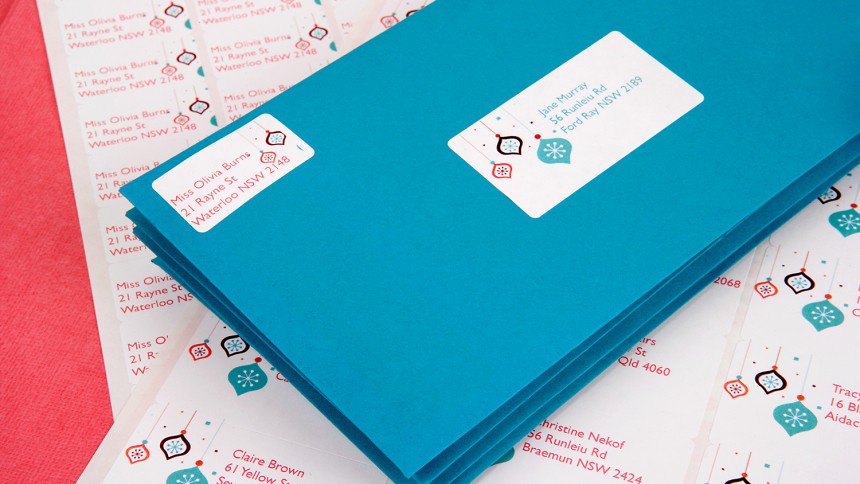
The term "Mail Merge" describes a process where data is taken from a spreadsheet and applied onto blank labels, stickers cards or letters in a matter of moments. It is particularly useful at Christmas time, if you have lots of messages or cards to send out and want to keep that personal touch.
We have created this special Christmas Mail Merge Step by Step guide to show you how Avery Design & Print can merge your data onto your Avery product really quickly.
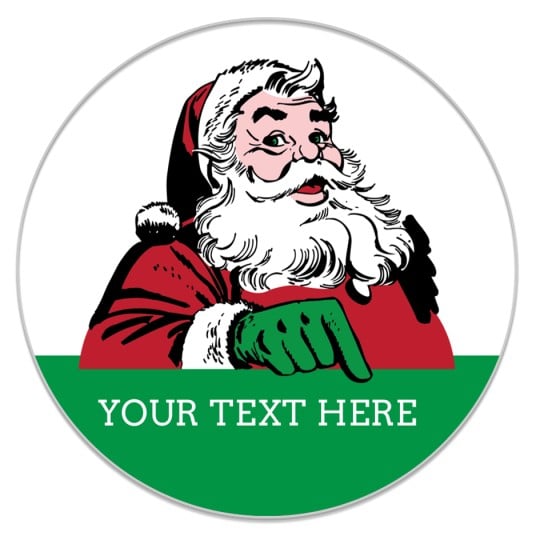
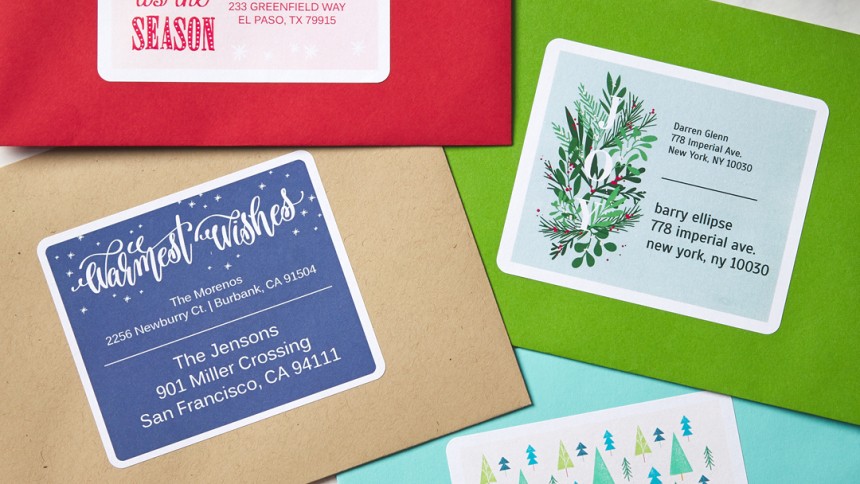
Why not add a little festive spirit to the labels themselves by selecting one of our many free pre-designed Christmas Templates?
Read on to see how you can create fantastic-looking Christmas Labels in minutes.
Step One
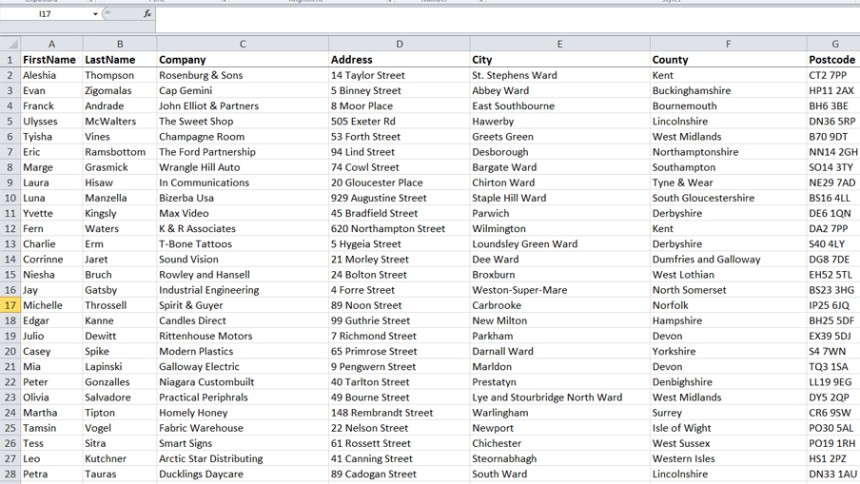
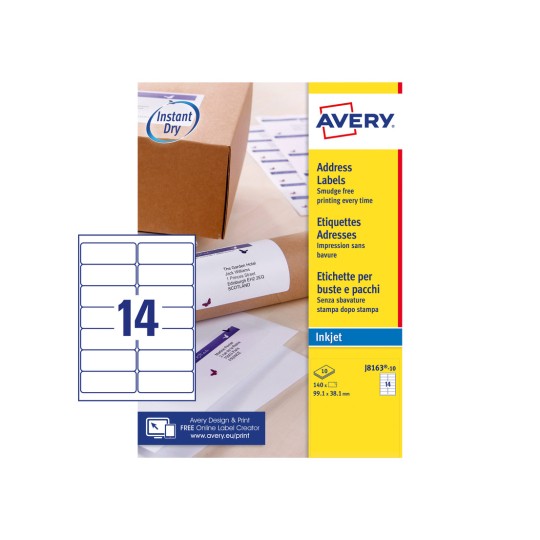
Create your SpreadsheetTo be able to perform a mail merge in Design & Print, you need to have a compatible spreadsheet with all of the data (such as names and addresses) you would like to add. In the spreadsheet, you should have separate columns e.g. name, street, city and postcode. (Please see image as an example).
However, mail merge isn't just for addressing! Your spreadsheet can have personalised greetings or sales messages. For example add a field that says "Hope to see you in the new year," and then merge this with the first name of all of your contacts.
Once you have completed your spreadsheet, save it to your computer ready to import into Design & Print.
Step Two
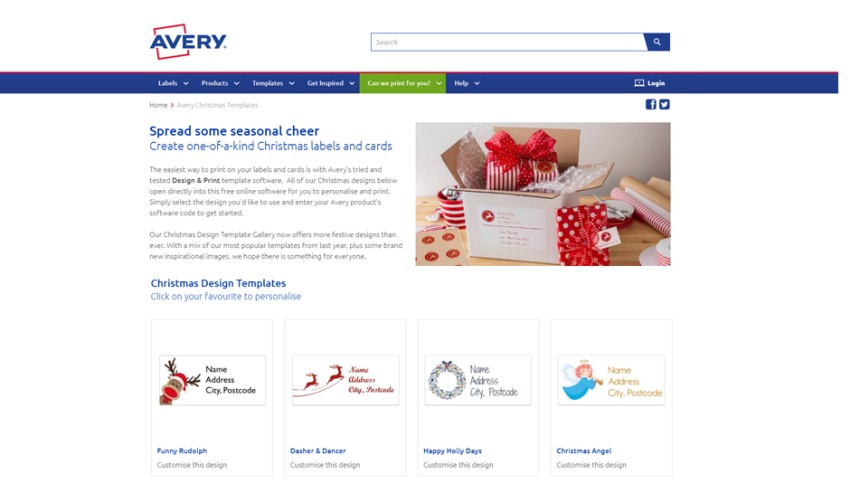
Have a look at our Christmas TemplatesEvery year Avery offers a Gallery of free, pre-designed Christmas templates for you to select and personalise.
Find your favourite festive design. Simply click on the design you'd like to personalise and enter the software code of the Avery product you would like to print on.
Step Three
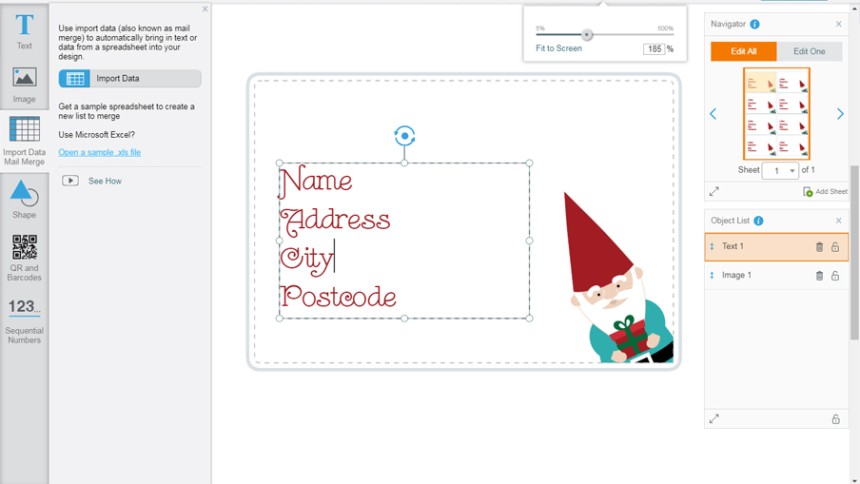
Import your spreadsheetNow you're on the Design & Print Canvas, arrange the image and text box to where you want them to be on your label. Once you're happy with the look of the overall design, it's time to import your spreadsheet.
Click:
1. Import Data Mail Merge on the left hand side. Then click
2. Start Import/Merge
At this point you will be asked to Browse for your address spreadsheet where you saved it on your computer. Alternatively, if you have created your spreadsheet using Google Sheets, click to connect to your Google Drive and import it from there.
Step Four
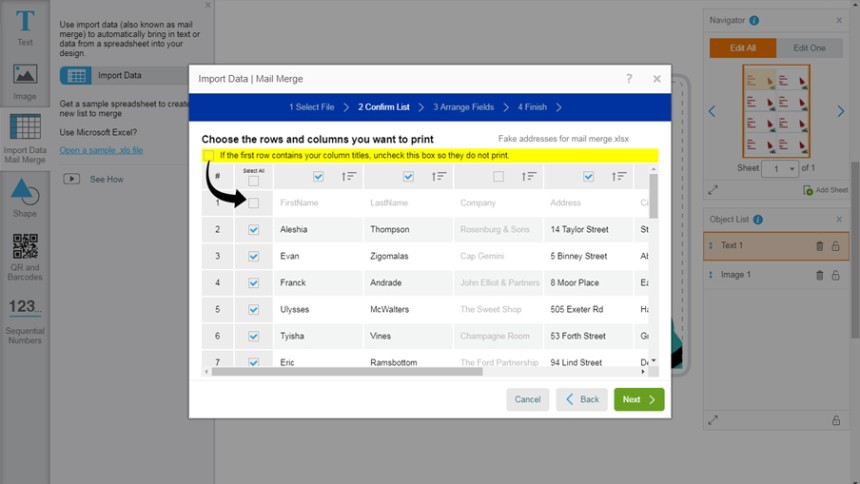
Organise your DataNow it's time to organise your names, addresses or messages. First, have a look at all the columns and rows - and deselect those you don't want to include on your labels. For example, if your first row is your column headers, make sure you untick the box by row 1, otherwise you will end up with a label that contains the title rows!
There's a big, handy arrow to remind you to untick this box before merging.
Step Five
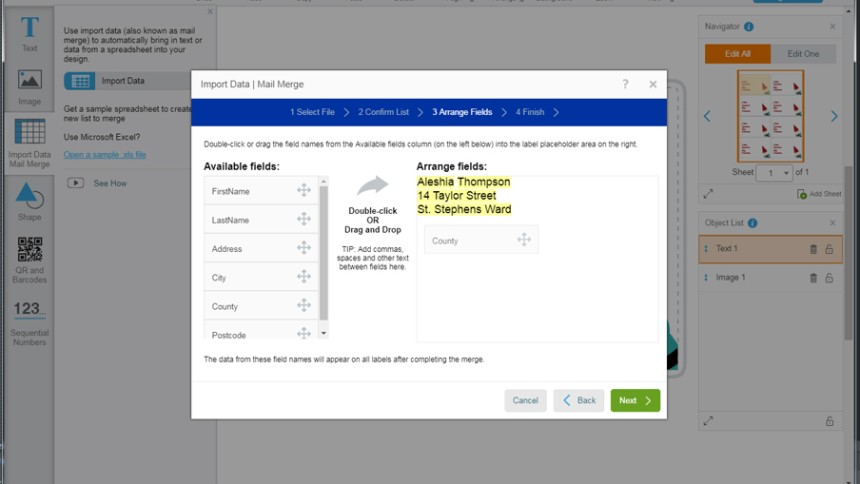
Arrange your fieldsThe next screen will ask you where you want to put the different fields (e.g. name, address) on your label. You can drag these fields from left to right to position them, or double click to bring them across. You can drop fields next to each other if you would like the information to appear next to each other on the label.
Don't worry if you make a mistake - you can delete fields and move them around until you are happy.
Step Six
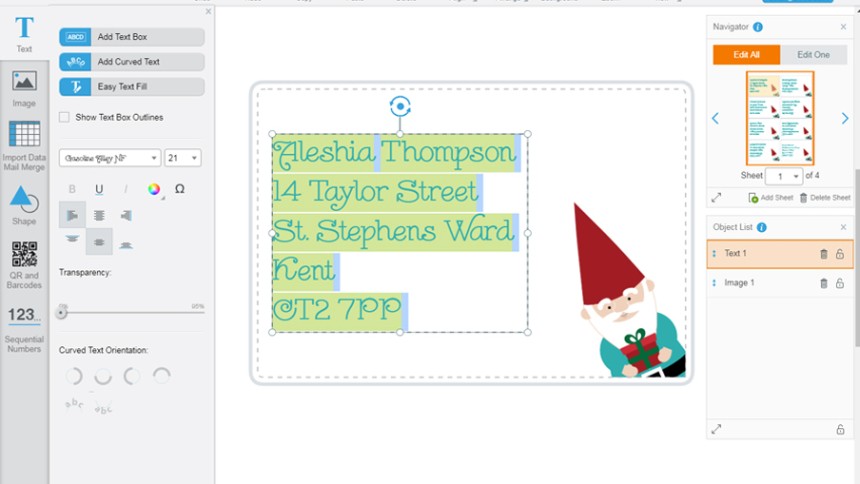
Finalise your designOnce your fields are arranged and you click finish, Design & Print will now merge your data to your labels. You will return to the canvas where you will see each label in the Navigator pane now has a different address.
TOP TIP - With Edit All selected, make design changes to all your labels at once (such as changing font, or the position of images and text) before editing individual labels.
When you're happy with your design, click Save, so you can use them again next year! Next, click the green “Preview & Print” button. This will take you to a preview screen where you can check your labels. When happy click “Print” again. Design & Print will now generate a PDF – we recommend you open this with Adobe Acrobat if possible. You can now print directly onto your printer labels or save your PDF to print later.
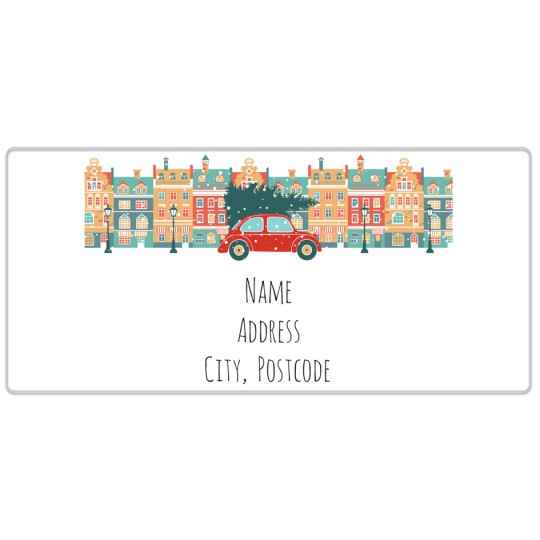
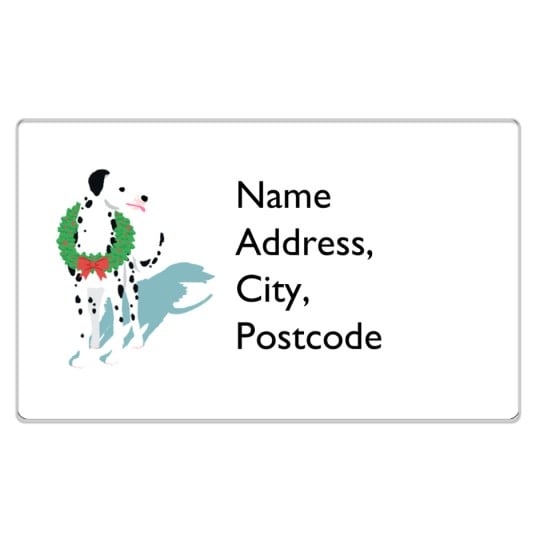
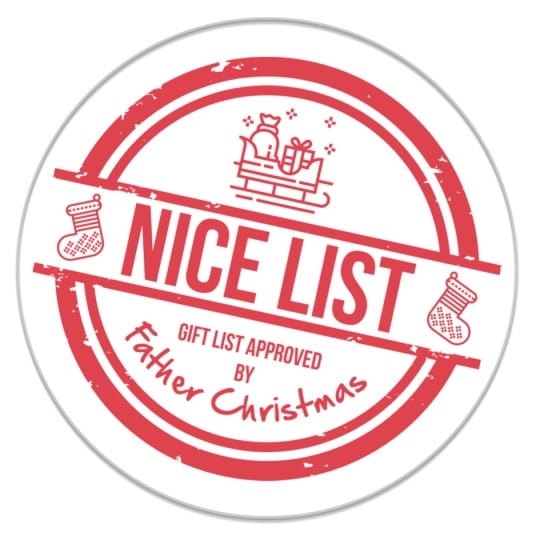
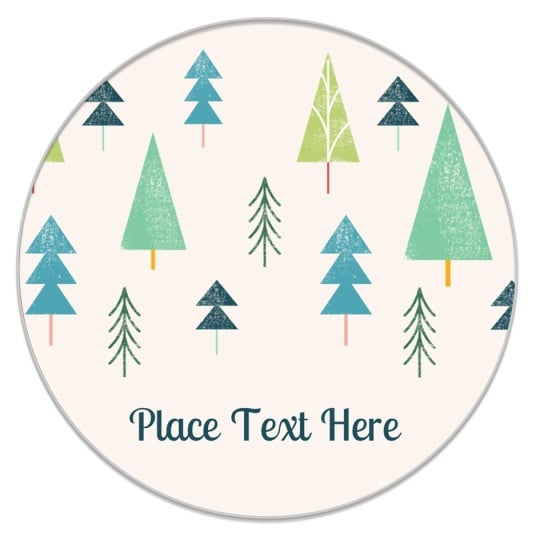
Latest Christmas Templates
Have a look at some of our latest Christmas Designs

Our favourite products for Christmas

Our Christmas gallery has lots of free templates for you to customise this Christmas.
Start Designing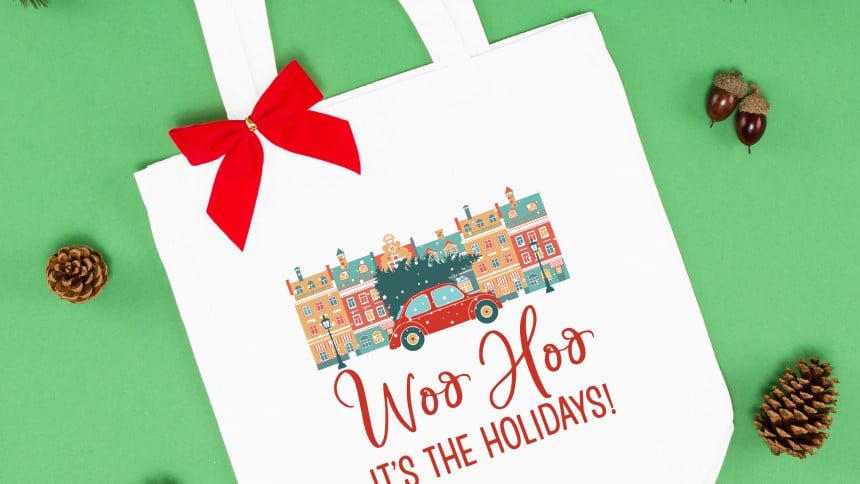
Whether you're after some festive labels for your Christmas cards or you fancy trying your hand at personalising your gifts, we have the Christmassy craft for you!
Find out more