Create your own Trick or Treat bag
With Avery Fabric Transfers
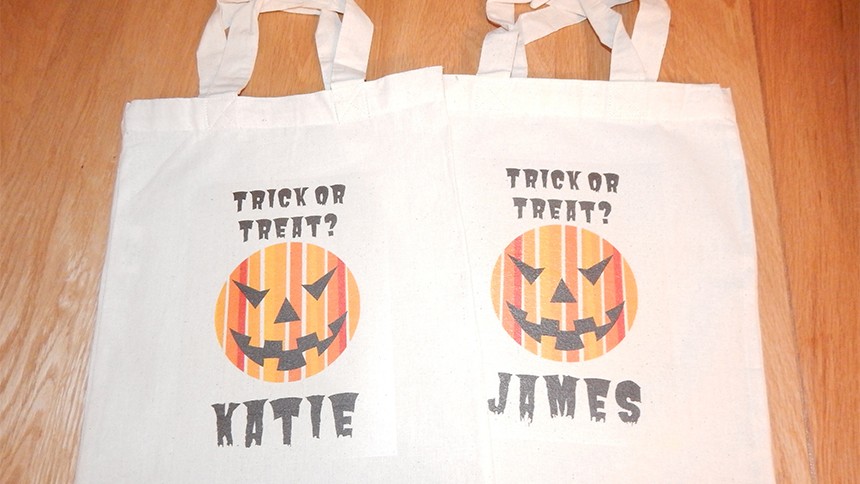
It’s that time of year again! With Halloween fast approaching, it’s time to get the perfect costume ready. Why not also create a personalised trick or treat bag to keep those important treats in? Best thing of all, you can reuse the bag year after year.
Designing a bag couldn’t be easier using the Avery Create Your Own fabric transfers. Don't forget to add in some spooky custom stickers.


Getting started
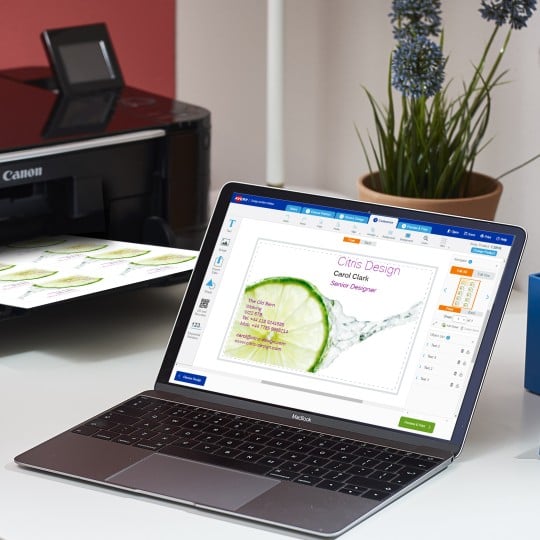
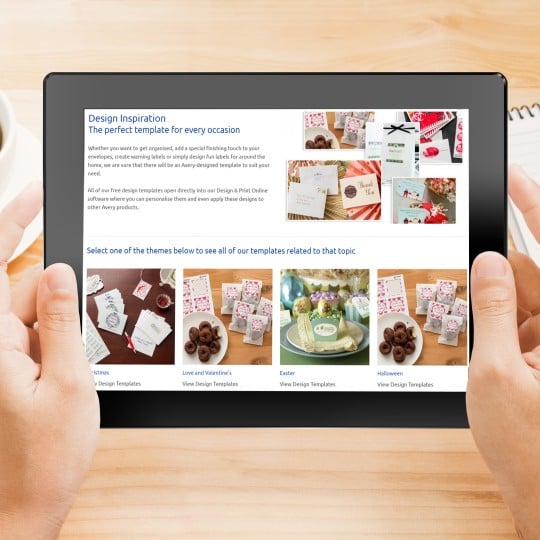
You can use free Avery Design & Print software and choose from a variety of Halloween templates, or you can use the software to create your own design from scratch. You will be asked to enter your product code and as we are using a light coloured cotton bag, we will be using product code HTT01.
Make sure to use the right transfer depending on the fabric. So if you are applying the design to a dark coloured bag you would be using MD1003.

Designing and printing your transfer
If you are creating your own design, then you can add images and text yourself. To add an image, in the customise screen click the image button on the left hand side and then click "Add image". You can use the images from the Avery Gallery and choose from a selection of Halloween images or you can use your own saved images using the Computer button. To add text, click on the text button and we have a wide selection of fonts and colours for you to get creative!
Once you are happy with your design, you can save it and print it. Make sure you print on the white coated side of the transfer. If you are using light coloured transfer HTT01, our software will automatically flip the design so no need to panic when you see your design is back to front! The design is flipped so when you iron it on, it will be the right way on your fabric.

Ironing instructions
Follow these instructions to iron on your design; they are also listed inside your transfers packaging:
1. After printing, cut around the transfer, keeping the edges rounded so there are no sharp corners.
2. Iron your bag and a pillowcase on a smooth hard surface so you get all the creases out.
3. For the transfer, the iron should be empty of all water and set for no steam. Set the iron to the highest cotton temperature setting and preheat for 5 minutes.
4. Place the bag on top onto the pillowcase and then place the transfer with the printed image face down in position on the bag.
5. Using both hands on the iron apply firm downward body pressure as you iron the transfer. Make slow 20 second passes left to right then repeat the process going up and down.
6. It’s recommended you spend about 90 seconds ironing a full transfer or 45 seconds for half a transfer.
7. After ironing remove the bag from the pillowcase and allow it to cool for at least 2 minutes before you remove the backing paper. Once it has cooled slowly peel off the backing paper starting at a corner.

Start collecting your treats!
What you should now have is a fantastic personalised trick or treat bag. All you need to do now is go out and collect your Halloween treats!
Remember if you are using an Avery Fabric Transfer for dark colours HTT02 then this will be different instructions. For the iron setting, it should be empty of all water and set for no steam, cotton, approx. 170 °C. Also, if the image does start to lift, replace the backing paper and re-iron following the above instructions.
You can use Avery Create Your Own Fabric Transfers for a variety of things, including on cushions, t-shirts, baby grows or aprons. They are great for gifts, events or parties.
Avery Halloween Designs
Click to start customising your designs
Avery Design and Print Template Software
Our free software includes all sorts of creative tools to help you design and print your Avery products, perfectly, every time.

Ready to print?


