
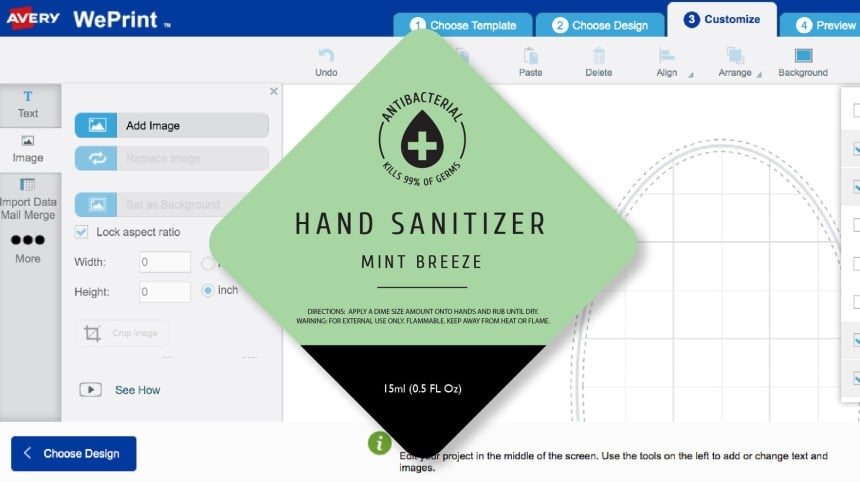
Rotating Text and Graphics
Make show stopping labels in Design & Print
If you’re having trouble getting the exact look you want for your products and promotional items, Avery Design & Print allows you to easily rotate text and graphics so you can customise your product labels, stickers business cards, and other marketing items to make them pop on shelves and online listings. We’ve put together some simple steps to help you easily rotate text and graphics on your products.
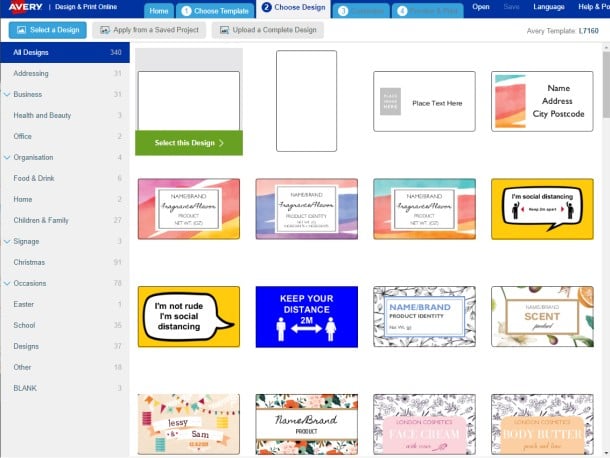
Select your template
Open Design & Print and enter the software code of the Avery product you would like to print on, for example, L7160. You will be shown blank templates for this product in 2 orientations, as well as a selection of pre-designed templates for you to adapt to your needs. For this example, we will select a pre-designed template in a horizontal orientation to demonstrate how to rotate the elements of the design.
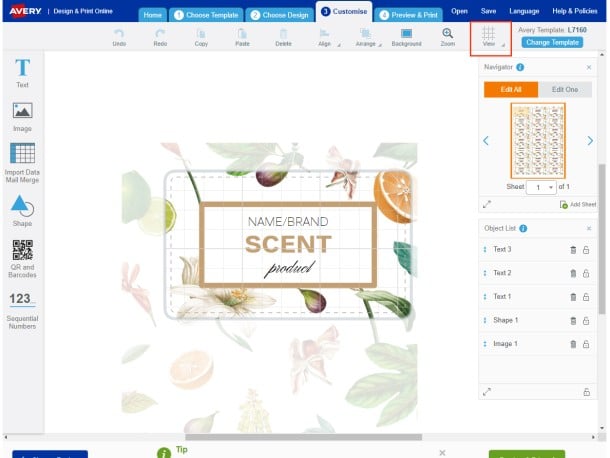
Select View at the top right of the Canvas
The "Customise" screen is what we also refer to as the Design & Print Canvas. It's where you do all the designing on your blank labels and cards. If you click the View button at the top right of the screen (in red above), this will reveal a drop down menu of additional options.
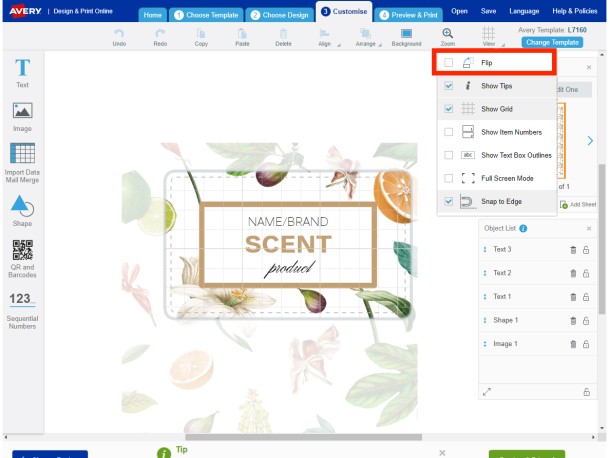
Flip your label's orientation
Once you click View, next choose Flip. This will rotate your canvas (label) by 90 degrees. By Flipping your label, it will help you visualise your design in the orientation it will be when you apply it.
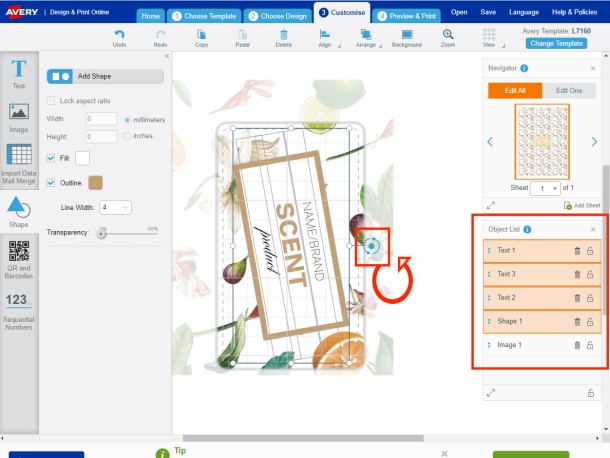
Rotate your Design's Objects
Now that your label is the right way up, you need to rotate any objects (such as text, images or shapes) so they are also pointing the right way. When you select any object on your design, 2 light blue arrows around a blue dot will appear (in red above). Click this with your mouse and turn the object left or right. If you have more objects to move, do them all at once by holding down Ctrl on your keyboard before selecting your objects. The Object List on the right will highlight which items are selected.
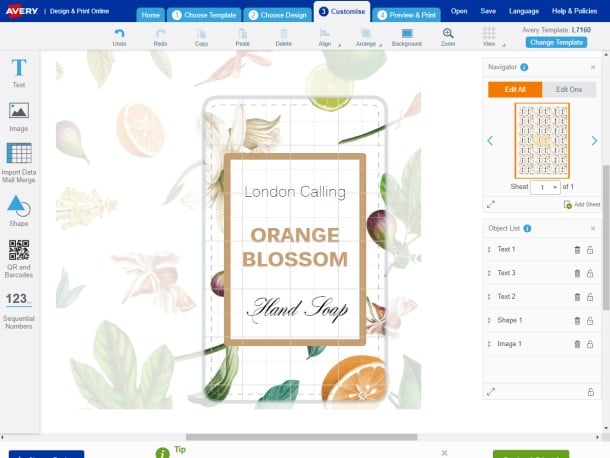
Complete Design
Now all your objects are in the correct position, it's time to customise the design and make it your own! Feel free to add any additional text or images you need. If you do add new images, simply follow the previous steps described to rotate them into the right position.
Avery Design and Print Template Software
Our free software includes all sorts of creative tools to help you design and print your Avery products, perfectly, every time.
Ready to print?
