
Design & Print Online Tutorial - Background Removal
We have recently updated our Avery Design and Print software for our Print Service. Check out some of our other exciting new updates with Instructions and Guides. Why not start designing and creating personalised labels and stickers?
This feature is only relevant if you're using our Print Service. Home printers cannot print white ink, so any white colour on your designs will simply show the label material instead.

Options for white ink:
After uploading your image to the Avery Design and Print Software, on the Customise step, you can Change Colour and Remove Colour from your images. When adding or replacing an image you can remove some or all white from that image.
This white removal adjustment is only offered when designing on a non-white material, for example Brown Kraft, Cream Textured Paper, Clear, Gold and Silver materials.
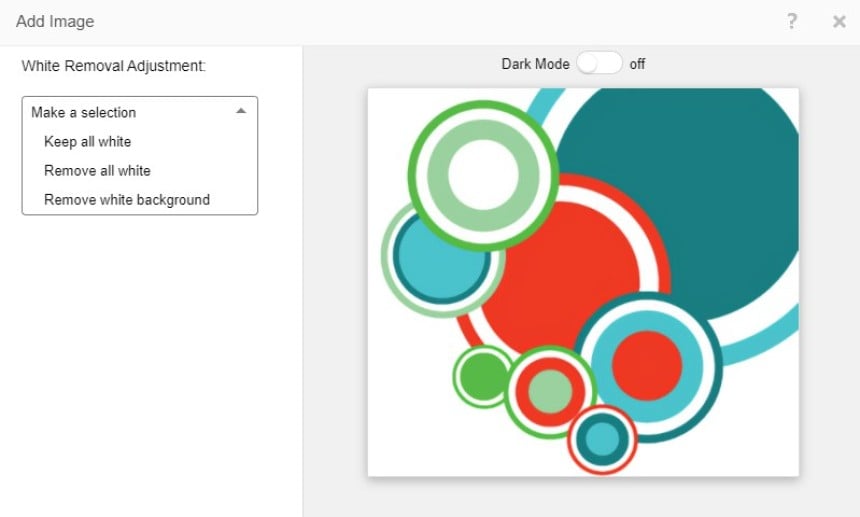
Choose How to Print White:
If you order a material that is not white (for example clear or brown kraft paper), you can choose how Avery prints the white in your design. When you add an image that includes white to the design and print online software, the following options will be provided:
- Keep all white
- Remove all white
- Remove white background
All 3 of these different options are explained further below. With any of the above you can manually add or remove white areas from the selection.
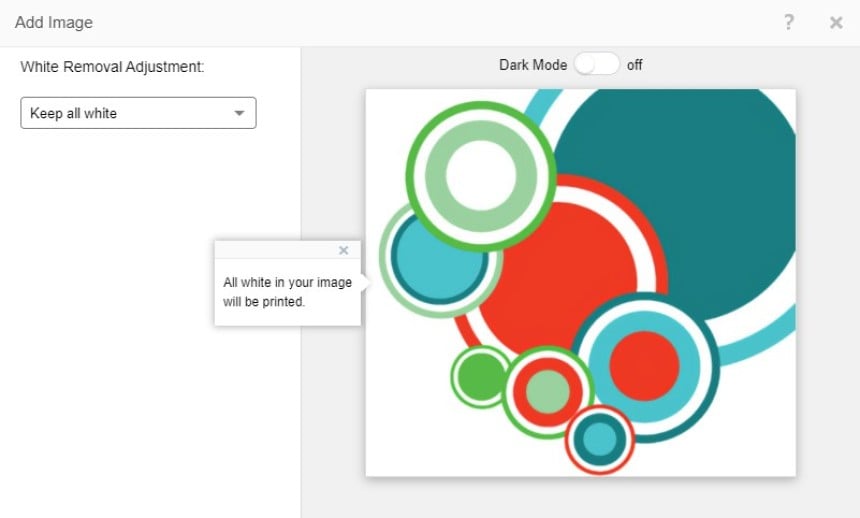
Keep all white:
Select Keep all white if you want all the white in your image to be printed.
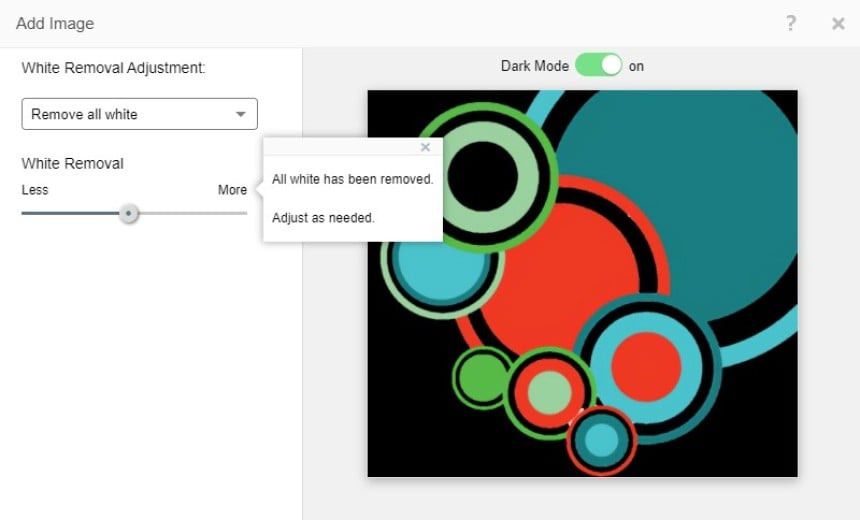
Remove all white option:
If you want the label or sticker material to show through the white areas of your image, select Remove all white. Dark Mode is automatically enabled, which will make it easier to see where your label material will show through.
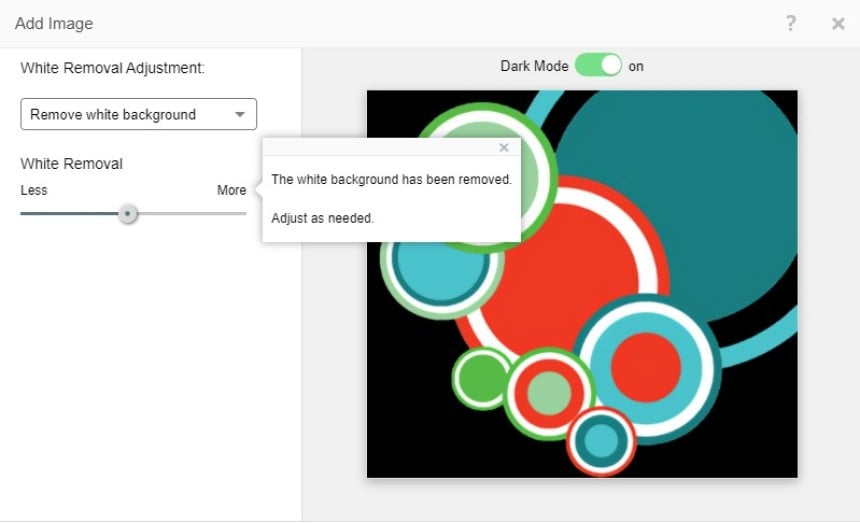
Remove white background:
If your image is not transparent, and you'd like the white background to be removed while keeping white ink within the image, select Remove white background. Dark Mode will make it easier to see where your label material will show through.
Make your selection and click Add Image. Return to the customise step to complete your design.
Click here to start personalising your labels and stickers! To know more top tips and tricks visit our Avery Design and Print Instructions and Guides page.